DOWNLOAD
Gear testing machines retrofit
CRASE has been in gear’s market for more than 30 years; today is able to sell, assist and retrofit testing machines for spur and bevel gears measurement. We face problems about gears’ control thanks to our knowledge developed during years of fieldwork and thanks to today’s technology, presenting a wide range of offers.
We can offer all necessary instruments for a complete gear’s control: gear measuring machines (manual, semi-automatic and CNC), for the geometrical testing of gear wheels, which measure the involute profile, the helix, the pitch and the eccentricity; gear engagement testing machines, for the functional measurement of gears through double-flank running test (more simple and used) and single-flank running test (which gives better and more accurate results); roughness testers, essential for roughness measurement on gear’s teeth.
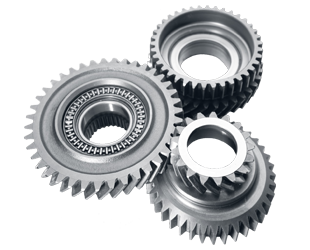
The precision of gear wheels and shafts is very important: an inaccurate gear is noisy, causes vibrations, wears out quickly and lacks performance.
Manual gear measuring machines
MAAG − KLINGELNBERG − MAHR − FRENCO − HOFLER
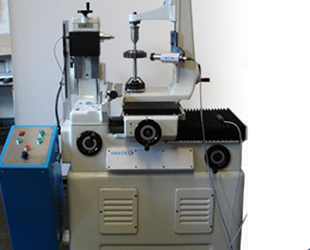
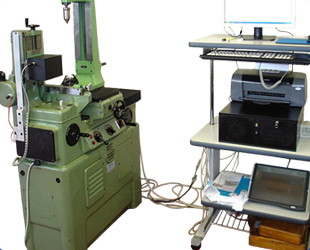
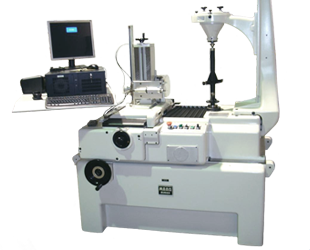
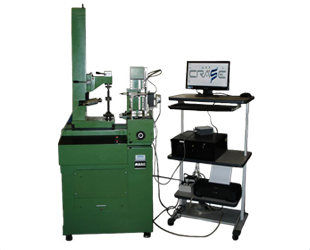
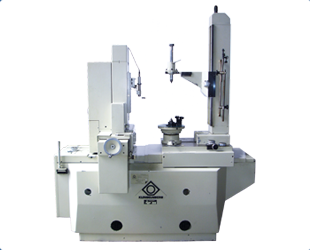
Manual machines, with or without base plate, are a worthy technical-economic option to measure gears. Once instruments have been retrofitted, they get efficient and updated. Our technicians are able to update your gear measuring machine of any brand and model, both CNC and manual. Beyond updating the measuring system, we can repair or inspect mechanical and electronical parts of your instrument.
The software is able to measure in compliance with DIN 3960 / 3962 AGMA, JIS, BS, ISO in order to meet any customer’s requirement; measurement of the outside of spur gears and pinions.
Measurement types in basic packet “Gear Soft”:
• Straight profile and helix (0°).
• Sloped profile and helix.
• Profile with release of tip and root.
• Calculation of crowning Cb Ca.
• Measurement of the K-Chart profile for preset ranges of tolerance.
Applicable to completely manual gear measuring machines with production of the involute profile through base plate or mechanical sine-bar. Installation of a measuring probe LVDT and two optical lines interfaced to a PC with dedicated electronics. The instrument can be calibrated e controlled with any standard master gear.
Maag PH-60, Klingelnberg-PFS-60,62,600, Hofler EFR 300, EFR 350, EFR 401, 401 MZ Golder Micron IL600, Karl Mahr 891T, David Brown 18T.
