DOWNLOAD
UCI portable hardness testers
Ultrasonic method
The ultrasonic hardness tester uses a different principle than all the other instruments. All of them measure with depth, indentation’s diameter or bounce. A vibrating rod (mechanical resonator) with a diamond tip acts as an indenter in these devices; when it indent into the material, the base frequency of the resonator changes and it is transformed into hardness value.
The UCI probe is used for measuring the hardness of small items, objects with a thin wall, complex form, and to measure the hardness of surface hardened layers.
Watch the VIDEO on Youtube!
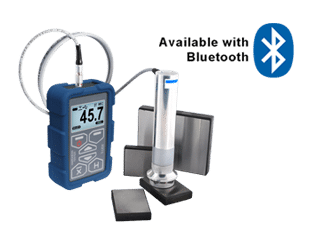
T−U2 hardness tester
Watch the video
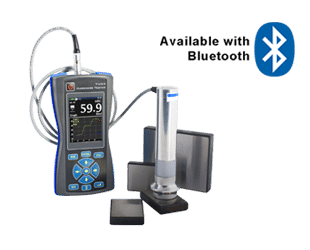
T−U3 hardness tester
Watch the video
Technical features:
Materials:
Steel and alloy steel, tools steel, stainless steel, grey and ductile cast iron, alloy aluminum, alloy brass, zinc−bass, alloy bronze, alloy copper.
Probe:
separated
Hardness scales:
HRC − HV − HB
Probe type:
1 − 5 − 10 kgf (10 − 50 − 98 N), with diamond indenter
Measuring range:
HRC: 20 − 70; HB: 90 − 450; HV: 230 − 940; tensile strength (MPa): 370 − 1740
Accuracy:
± 2 HRC
Measuring direction:
0 − 360°
Optional Bluetooth module
Thanks to the NOVOTEST app for Android, it is possible to carry out hardness measurements, calibrate the device, set up a convenient display of values, save the results of hardness measurements, synchronize the archive with your other devices and a PC, transfer measurement results to your colleagues with your smartphone.
Using a Bluetooth connection, your smartphone connects to the hardness tester and you have a completely new device. The intuitive interface, ample opportunities for documenting results, Internet access, touch screen, camera, microphone and GPS receiver of a smartphone turn the hardness tester T-UD2 into something completely unique and previously inaccessible.
With NOVOTEST App is possible to:
• Set and calibrate the hardness tester.
• Display measurement results in real time in numerical form with the construction of a graph, histogram or statistics.
• Take a picture of the test object with the putting of hardness marks.
• Create a video of the measured product.
• Recording audio notes about the tested object.
• Automatically save measurement’s geolocation on Google maps.
• Display a Google map with markers of places of measurements made on it and the ability to view these measurements.
• Create the final comprehensive report on the measurement.
• Send a finished report to e-mail, messenger (or in any convenient way) directly from the application.
• Create folders and files with any name thanks to the flexible structure of the archive of measurements.
• Synchronize with PC and other smartphones.
• Access a cloud service for storing the archive of measurements.
• Automatically and manually synchronize the cloud measurement archives between devices.
• Use the Google navigation mode, building a route and accompanying to the point at which the measurements were made.
• Store archives of other devices with Bluetooth in one application.


